5.2. Agents, Groups and Roles
From open-support.info
m (1 revision: Update book/figure) |
Revision as of 05:23, 24 April 2011
Contents |
Agents
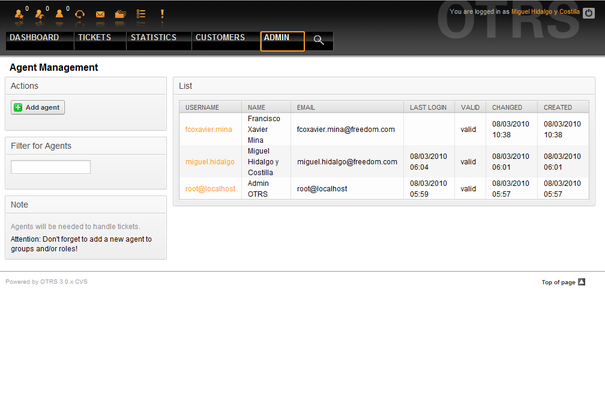
By clicking the link Agents, you get access to the agent management screen of OTRS (see Figure 5.2 below). Administrators can add, change or deactivate agent accounts. Administrators can also manage agent preferences, for instance the language and notification settings for their interface.
|
|
An OTRS agent account may be deactivated but not deleted. Deactivation is done by setting the Valid flag to invalid or invalid-temporarily. |
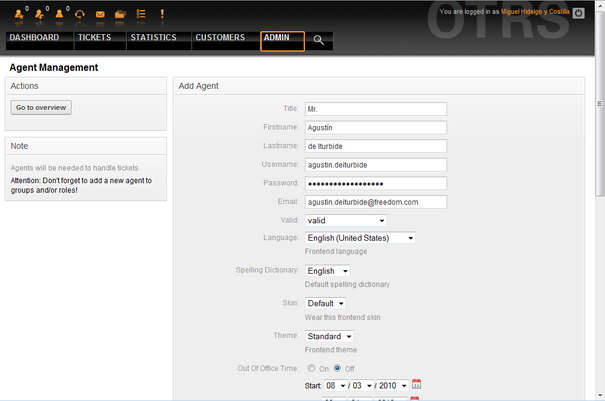
To register an agent, click on the "Add agent" button, type all the needed data and press the Submit button at the bottom of the screen, as shown in Figure 5.3.
After the new agent account has been created, you should make the agent a member of one or more groups or roles. Information about groups and roles is available in the Groups and Roles sections of this chapter.
Groups
Every agent's account should belong to at least one group or role. In a brand new installation, there are three pre-defined groups available, as shown in Table 5-1.
| Group | Description |
|---|---|
| admin | Allowed to perform administrative tasks in the system. |
| stats | Qualified to access the stats module of OTRS and generate statistics. |
| users | Agents should belong to this group, with read and write permissions. They can then access all functions of the ticket system. |
|
|
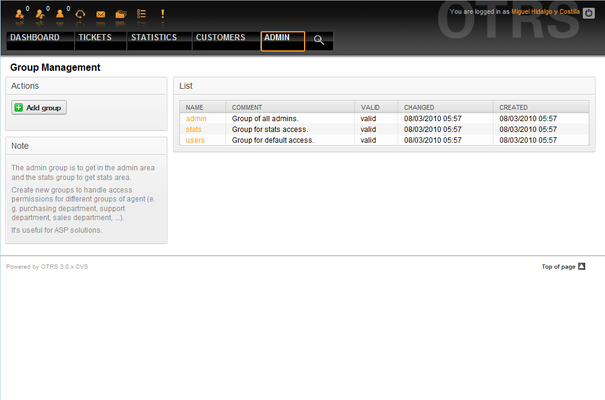
In a brand new OTRS installation, the group users is initially empty. The agent 'root@localhost' belongs by default to the admin and stats groups. |
You can access the group management page (see Figure 5.4 below) by clicking the Groups link in the admin area.
|
|
As with agents, an OTRS group may be deactivated but not deleted. Deactivation is done by setting the Valid flag to invalid or invalid-temporarily. |
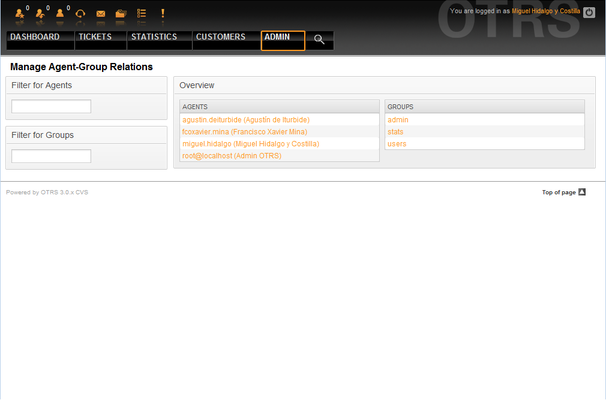
To add an agent to a group, or to change the agents who belong to a group, you can use the link Agents <-> Groups from the Admin page (see Figure 5.5 below).
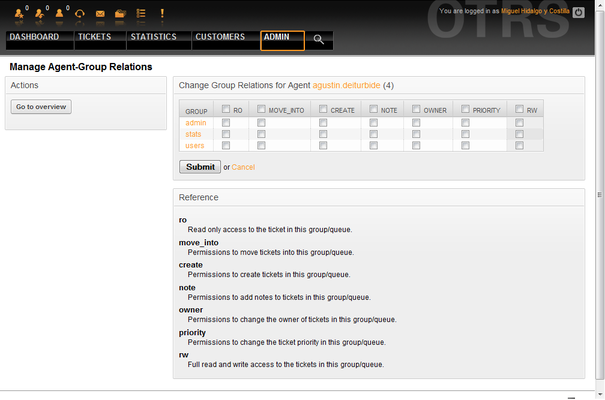
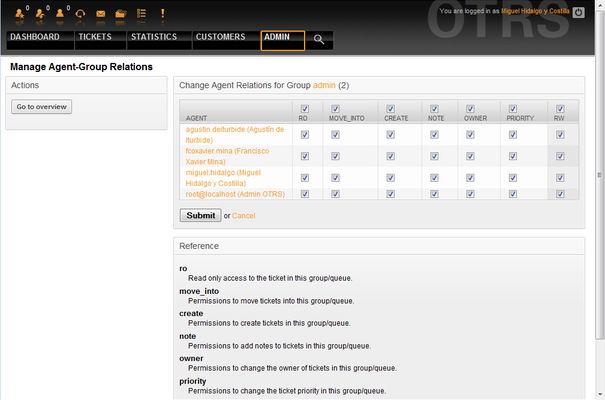
An overview of all groups and agents in the system is displayed. You can also use the filters to find a specific entity. If you want to change the groups that an agent is member of, just click on the agent's name (see Figure 5.6 below). To change the agents associated with a group, just click on the group you want to edit (see Figure 5.7 below).
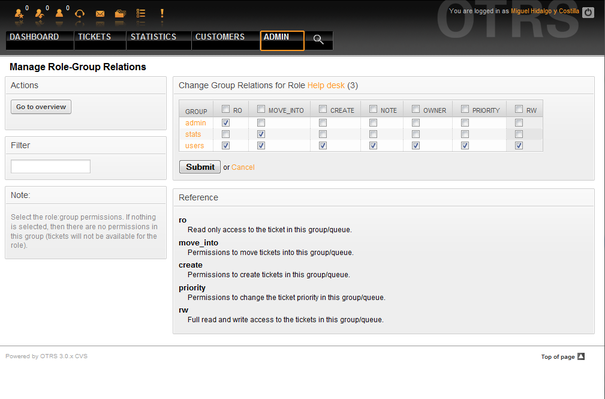
Each group has a set of rights associated with it, and each member agent may have some combination of these rights for themselves. A list of the permissions / rights is shown in Table 5-2.
| Right | Description |
|---|---|
| ro | Read only access to the tickets, entries and queues of this group. |
| move into | Right to move tickets or entries between queues or areas that belong to this group. |
| create | Right to create tickets or entries in the queues or areas of this group. |
| owner | Right to update the owner of tickets or entries in queues or areas that belong to this group. |
| priority | Right to change the priority of tickets or entries in queues or areas that belong to this group. |
| rw | Full read and write access on tickets or entries in the queues or areas that belong to this group. |
|
|
By default, the QueueView only lists tickets in queues that an agent has rw access to, i.e., the tickets the agent needs to work on. If you want to change this behaviour, you can set Ticket::Frontend::AgentTicketQueue###ViewAllPossibleTickets to Yes. |
Roles
Roles are a powerful feature to manage the access rights of many agents in a very simple and quick manner. They are particularly applicable on large, complex support systems with a lot of agents, groups and queues. An example below explains when they may be used.
Suppose that you have a system with 100 agents, 90 of them with access to a single queue called "support" where all support requests are handled. The "support" queue contains some sub queues. The other 10 agents have permission to access all queues of the system. These 10 agents dispatch tickets, watch the raw queue and move spam messages into the "junk" queue.
The company now opens a new department that sells some products. Order request and acceptance, order confirmation, bills, etc. must be processed, and some of the company's agents shall do this via OTRS. The different agents have to get access to the new queues that must be created.
Because it would take a long time to change the access rights for the different agents manually, roles that define the different access levels can be created. The agents can then be added to one or more roles, with their rights automatically changed. If a new agent account is created, it is also possible to add this account to one or more roles.
|
|
Roles are really useful when maintaining larger OTRS installations. You should take care in their use though. Mixing Agent to Group with Agent to Role mappings can make for a complex access control scheme, difficult to understand and maintain. If you wish to use only roles and disable the Agents <-> Groups option in the Admin area, you can do so by modifying the Frontend::Module###AdminUserGroup in the SysConfig. Be aware that this won't remove already existing Agents to Group assignments! |
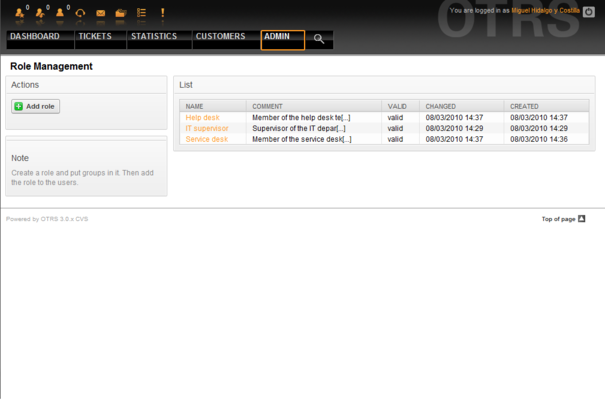
You can access the role management section (see Figure 5.8 below ) by clicking the Roles link on the Admin page.
|
|
As with agent and groups, roles once created can be deactivated but not deleted. To deactivate, set the Valid option to invalid or invalid-temporarily. |
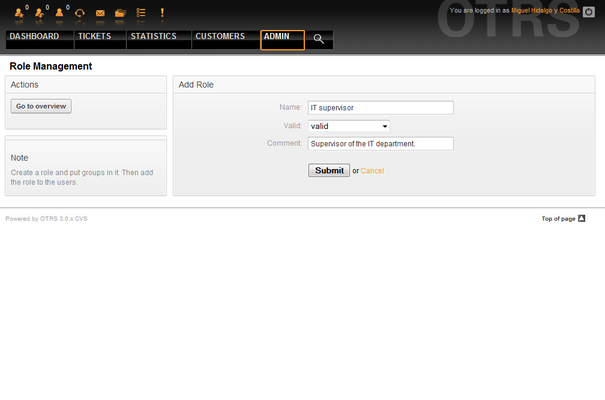
An overview of all roles in the system is displayed. To edit a role's settings, click on the role's name. In a fresh new OTRS installation, there are no roles defined by default. To register one, click on the "Add role" button, provide the needed data and submit it (see Figure 5.9 below).
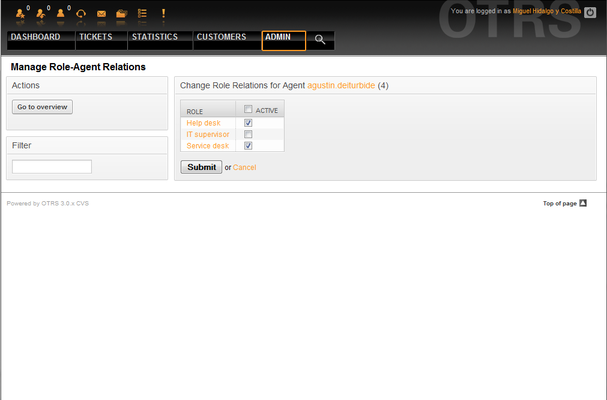
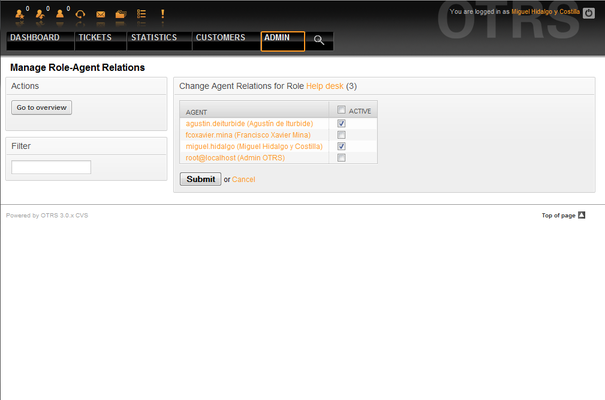
To get an overview of all roles and agents in the system, click on the link Roles <-> Agents on the Admin page. You can also use filters to find a specific element. If you want to change the roles associated with an agent, just click on the agent's name (see Figure 5.10 below). To change the agents associated with a role, click on the role you want to edit (see Figure 5.11 below).
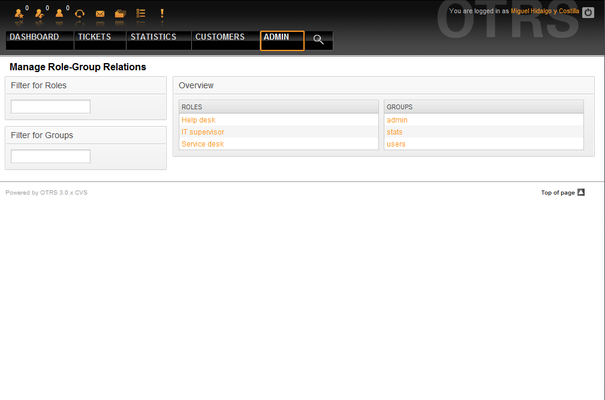
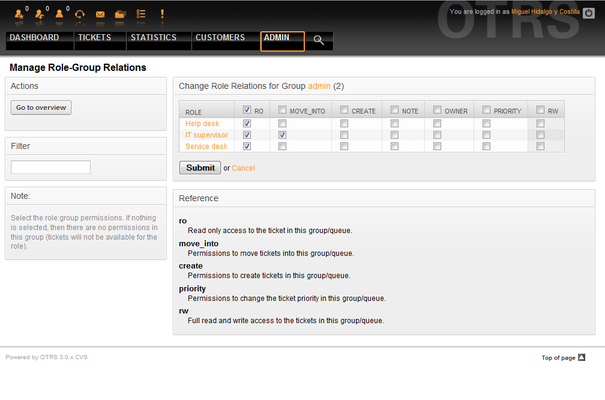
To get an overview of all roles and groups in the system, click on the link Roles <-> Groups on the Admin page. You will see a similar screen as the one shown in the Figure 5.12. You can also use filters to find a specific entity.
To define the different access rights for a role, click on the name of a role or a group (see below the Figures 5.13 and 5.14, respectively).
