5.3. Customers and Customer Groups
From open-support.info
Contents |
Customers
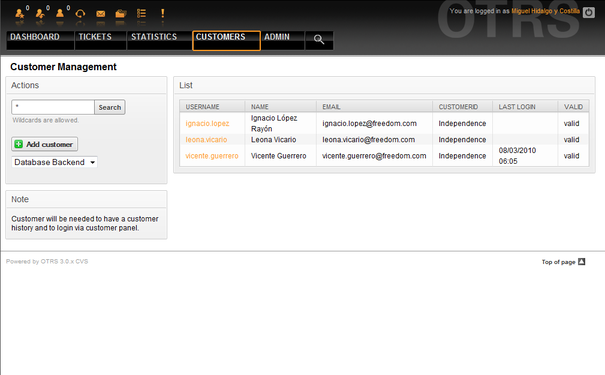
OTRS supports different types of users. Using the link "Customers" (via the navigation bar, or the Admin page), you can manage the accounts of your customers (see Figure 5.14 below), who can log into the system via the Customers interface (customer.pl). Through this interface, your customers can create tickets and access them as they are updated. It is important to know that a customer is needed for the ticket history in the system.
You can search for a registered customer, or edit their settings by clicking on their name. You also have the possibility to change the customer back-end, for further information please refer to the chapter about external back-ends.
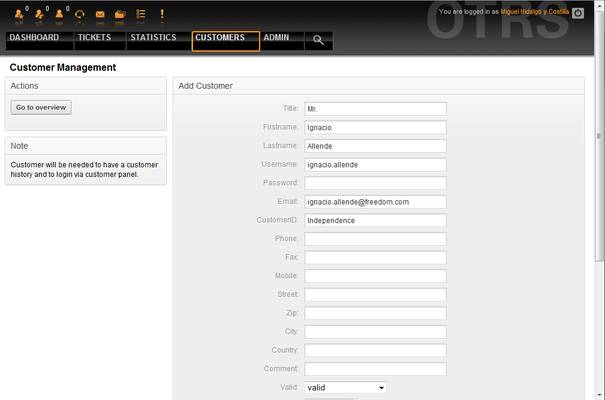
To create a new customer account, click on the "Add customer" button (see Figure 5.15 below). Some of the fields are mandatory, i.e., they have to contain values, so if you leave one of those empty, it will be highlighted in red.
Customers can access the system by providing their username and password. The CustomerID is needed by the system to identify the user and associated tickets. Since the email address is a unique value, it can be used as the ID.
|
|
As with agents, groups and roles, customers can not be deleted from the system, only deactivated by setting the Valid option to invalid or invalid-temporarily. |
Customer Groups
Customer users can also be added to a group, which can be useful if you want to add customers of the same company with access to one or a few queues. First create the group to which your customers will belong, via the Group management module. Then add the queues and select the new group for the queues.
The next step is to activate the customer group support. This can be done with the configuration parameter CustomerGroupSupport, from the Admin SysConfig option. Using the parameter CustomerGroupAlwaysGroups, you can specify the default groups for a newly added customer, so that every new account will be automatically added to these groups.
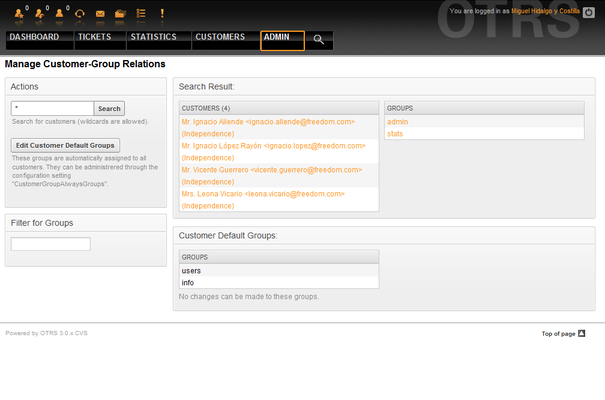
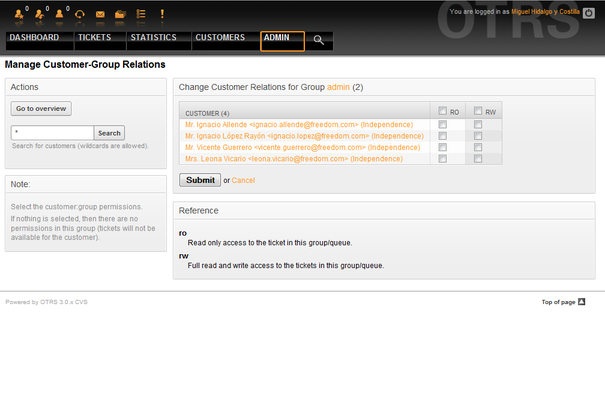
Through the link "Customers <-> Groups" you can manage which customer shall belong to the different groups (see Figure 5.15 below).
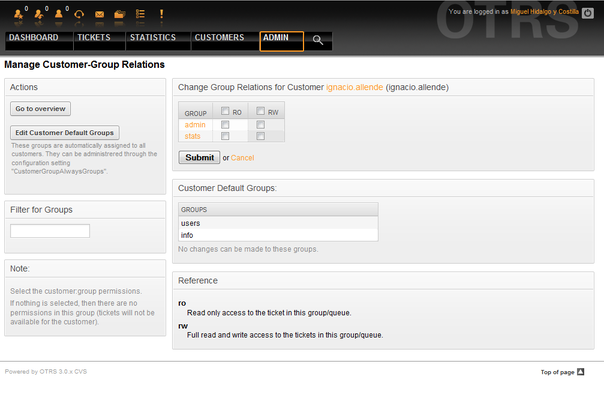
To define the different groups a customer should be part of and vice versa, click on the corresponding customer username or group (see below the Figures 5.16 and 5.17, respectively).
